How to Create Realistic, High-Quality Materials in Lumion
The Art of Making Your Visualizations Look Alive
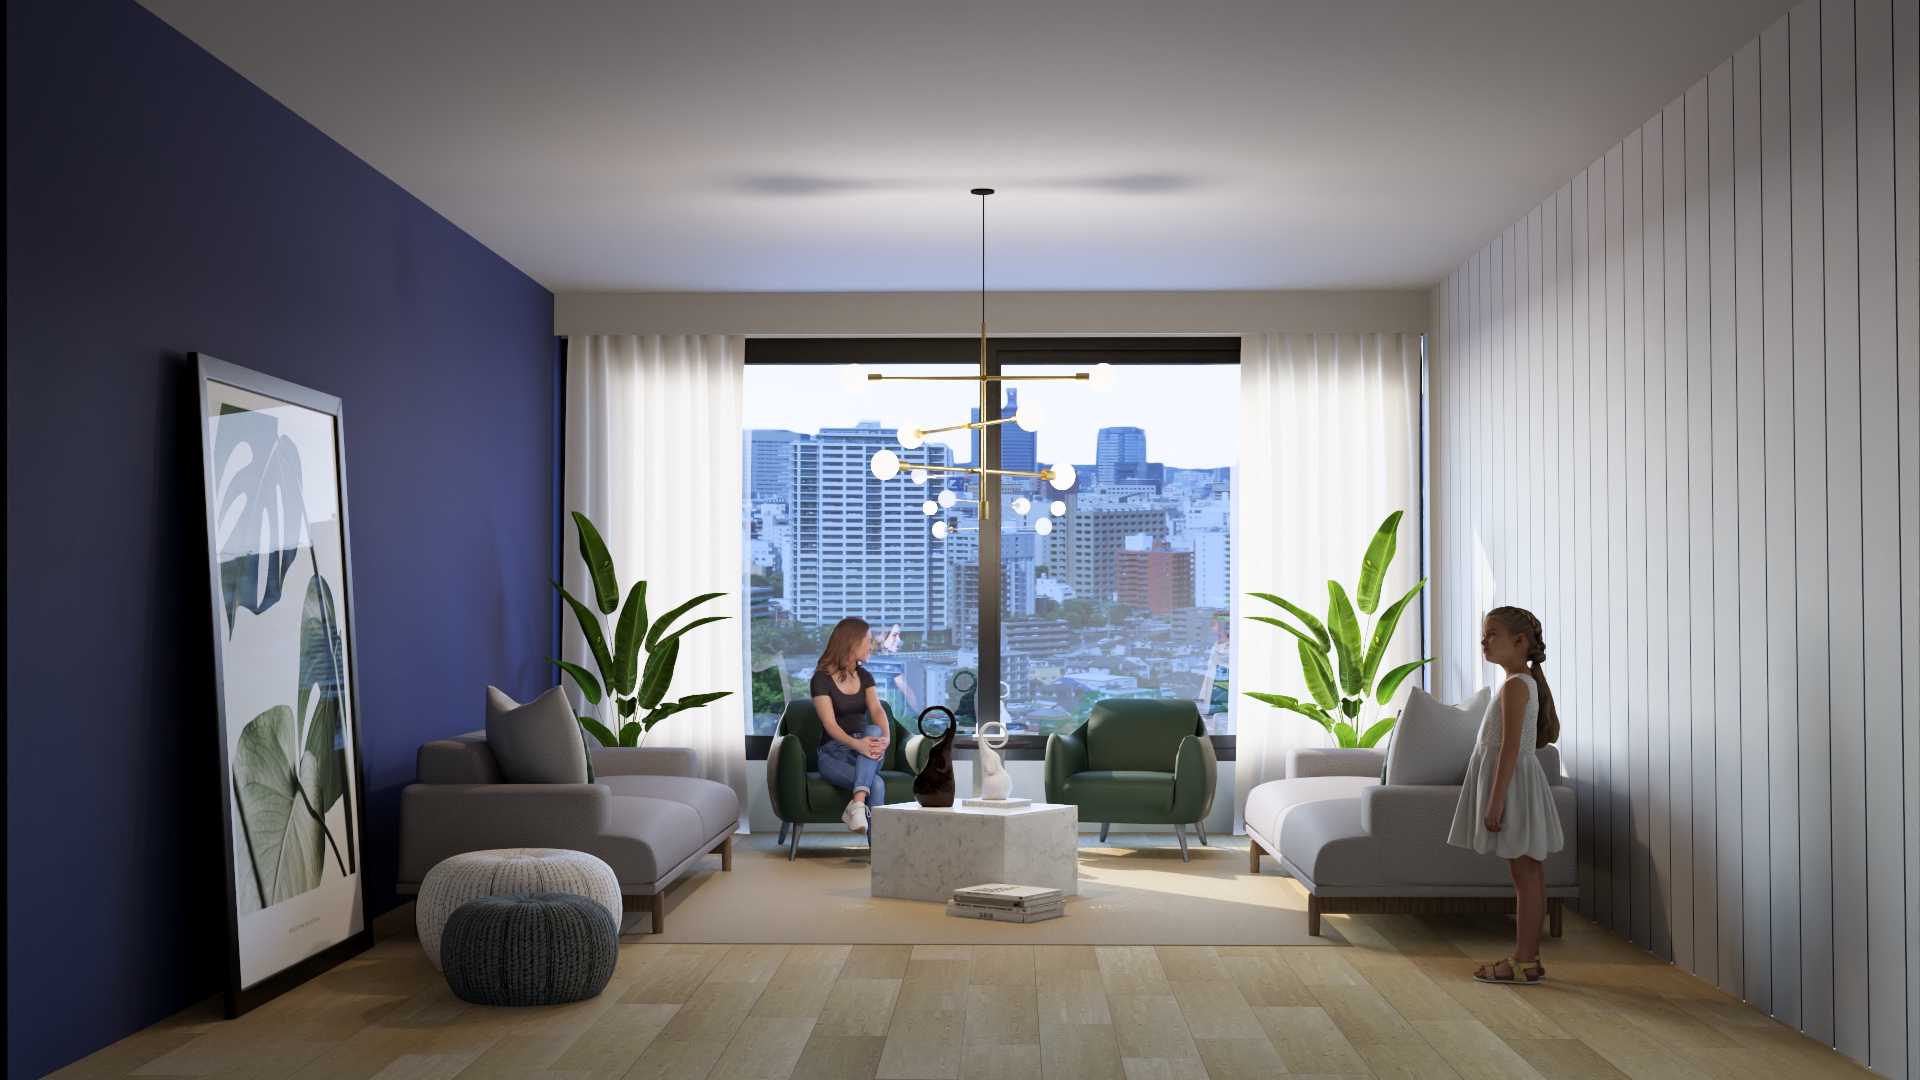
When it comes to architectural visualization in Lumion, one truth stands out: materials make or break your render.
You can have perfect lighting, great camera angles, and a compelling design—but if your materials look flat or fake, the whole scene feels off.
In this article, we’ll walk you through how to craft realistic, custom materials in Lumion that bring your designs to life—while also sharing a few pro tricks that can save you hours of trial and error.
Why Realistic Materials Matter
Lumion’s power lies in speed and visual appeal, but without high-quality materials, even the fastest renders fall short. Realistic materials:
-
Add depth and dimension to your scenes
-
Reflect light naturally (especially with ray tracing)
-
Make viewers feel like they’re looking at a real place
-
Increase client satisfaction and emotional impact
It’s not about adding “just any texture.” It’s about combining the right texture maps with the right settings—and using them intentionally.
Step 1: Understand What a Good Material Is
In modern rendering, realistic materials typically include these PBR texture maps:
-
Diffuse / Albedo – the base color of your surface
-
Normal map – adds surface details like bumps or grooves
-
Roughness map – controls how shiny or matte the surface appears
-
Displacement map – gives true 3D depth to surfaces (especially useful with Lumion’s displacement feature)
Together, these maps simulate how real surfaces interact with light.
Step 2: Import Your Textures into Lumion
Lumion makes it easy to create a custom material:
Add a standard material to your object
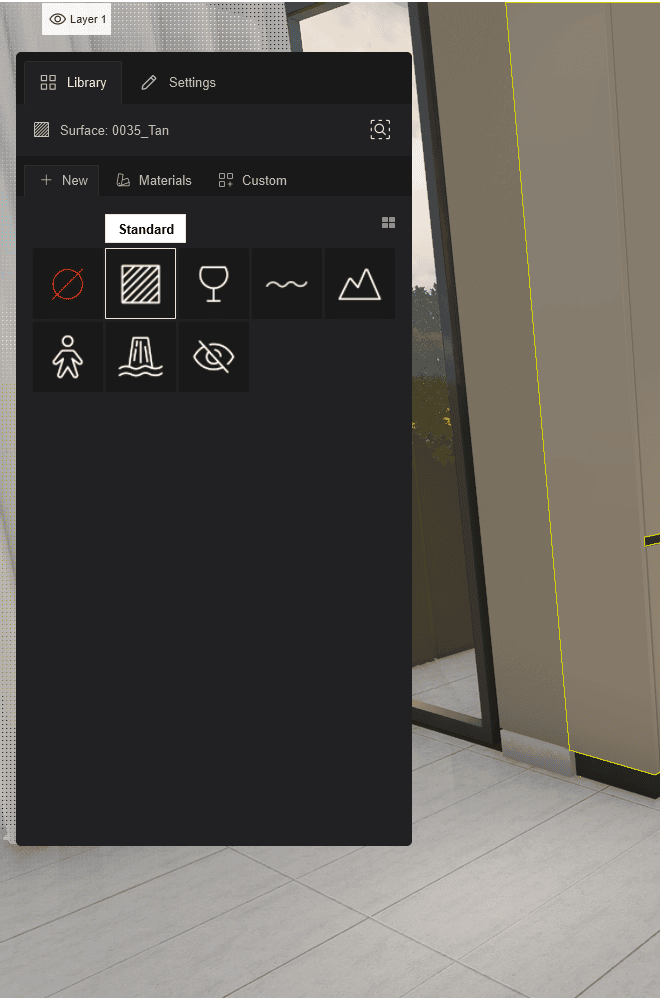
Click the “Load Map” Button
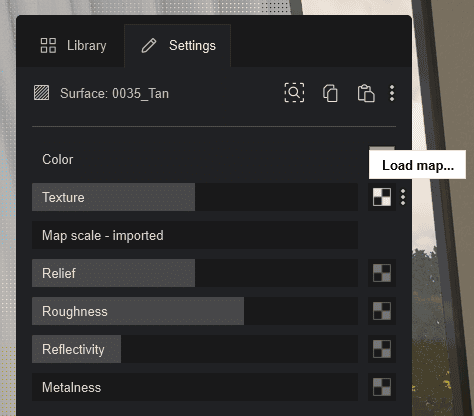
Import each texture map (Color, Normal, Displacement, etc.)
Adjust settings like glossiness, reflectivity, and scale
💡 Pro Tip: If you’re using Lumion 2023 or Newer versions, with ray tracing, your maps will behave even more realistically—especially roughness and displacement.
Step 3: Adjust for Real-World Scale and Behavior
This is where many people get it wrong.
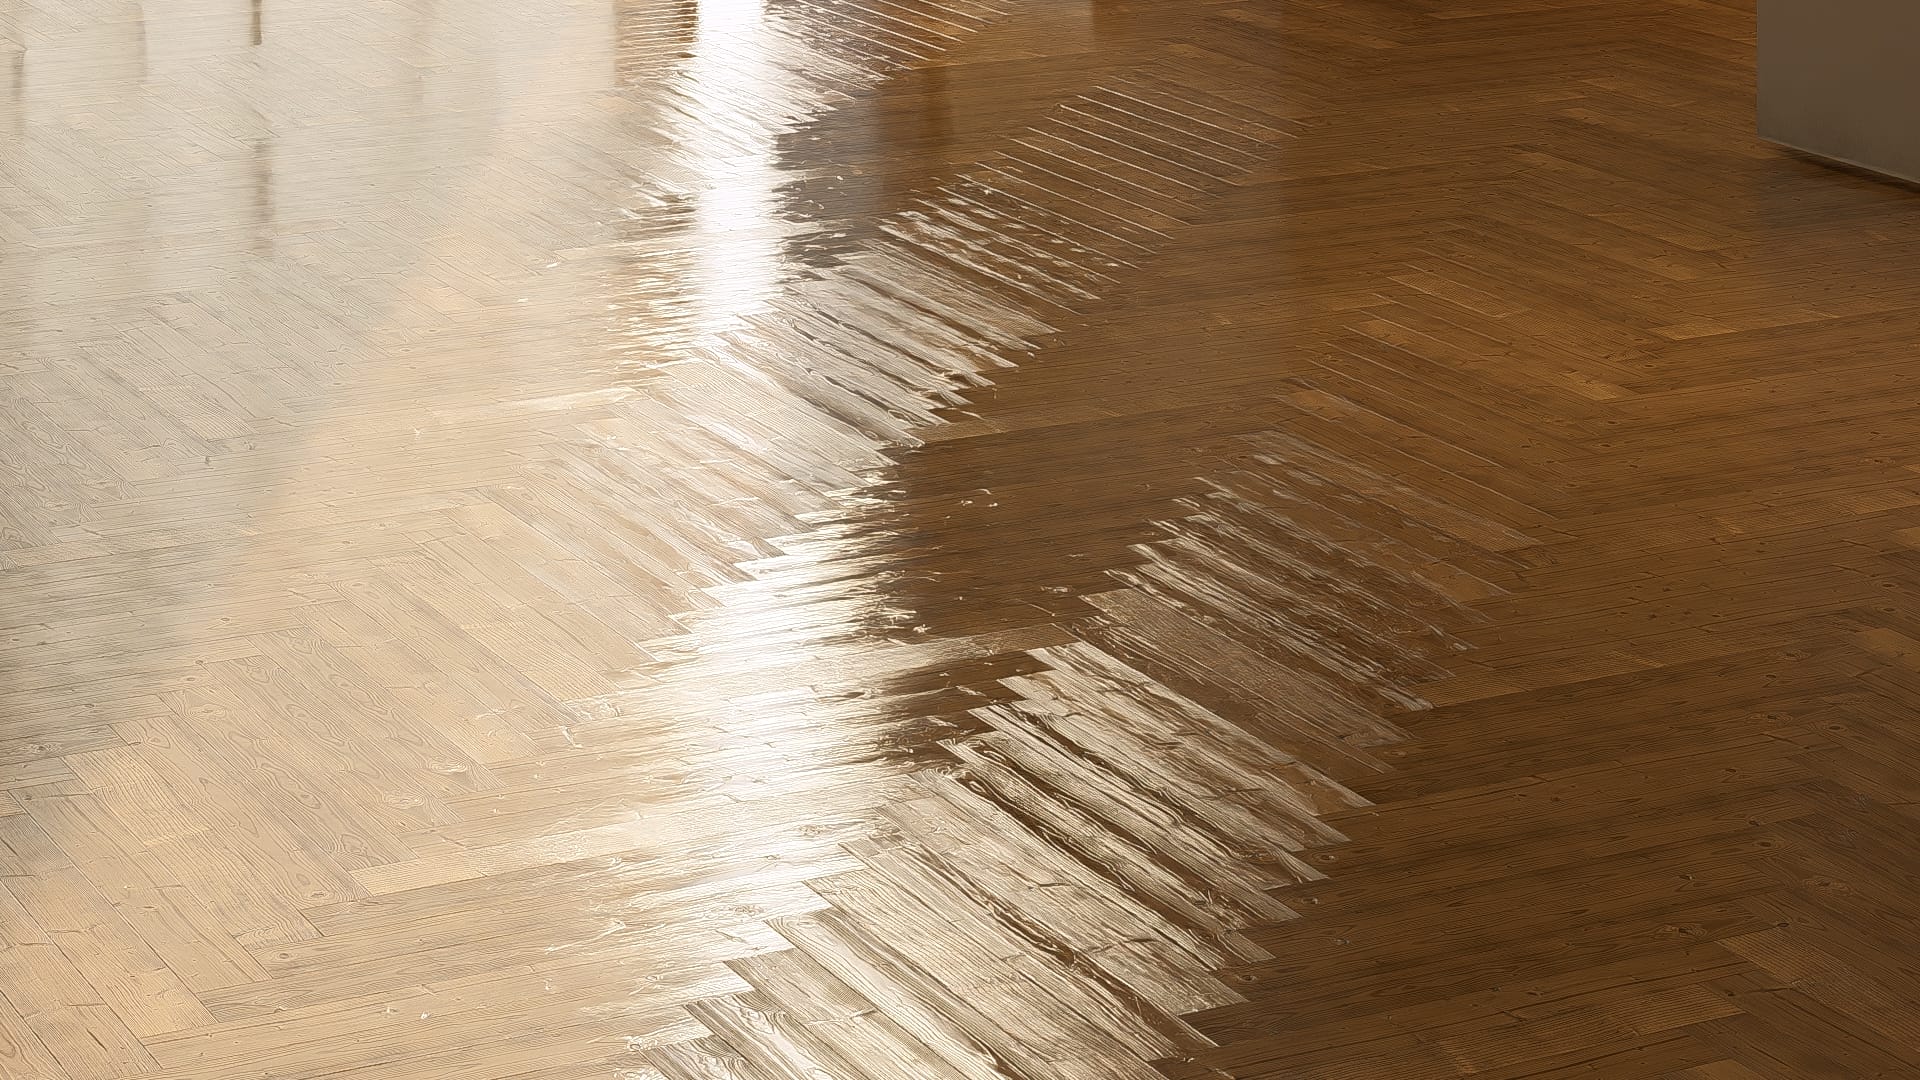
-
A wooden floor with too much gloss looks fake
-
A brick wall with stretched texture kills realism
-
Displacement that’s too strong? It feels like a cartoon
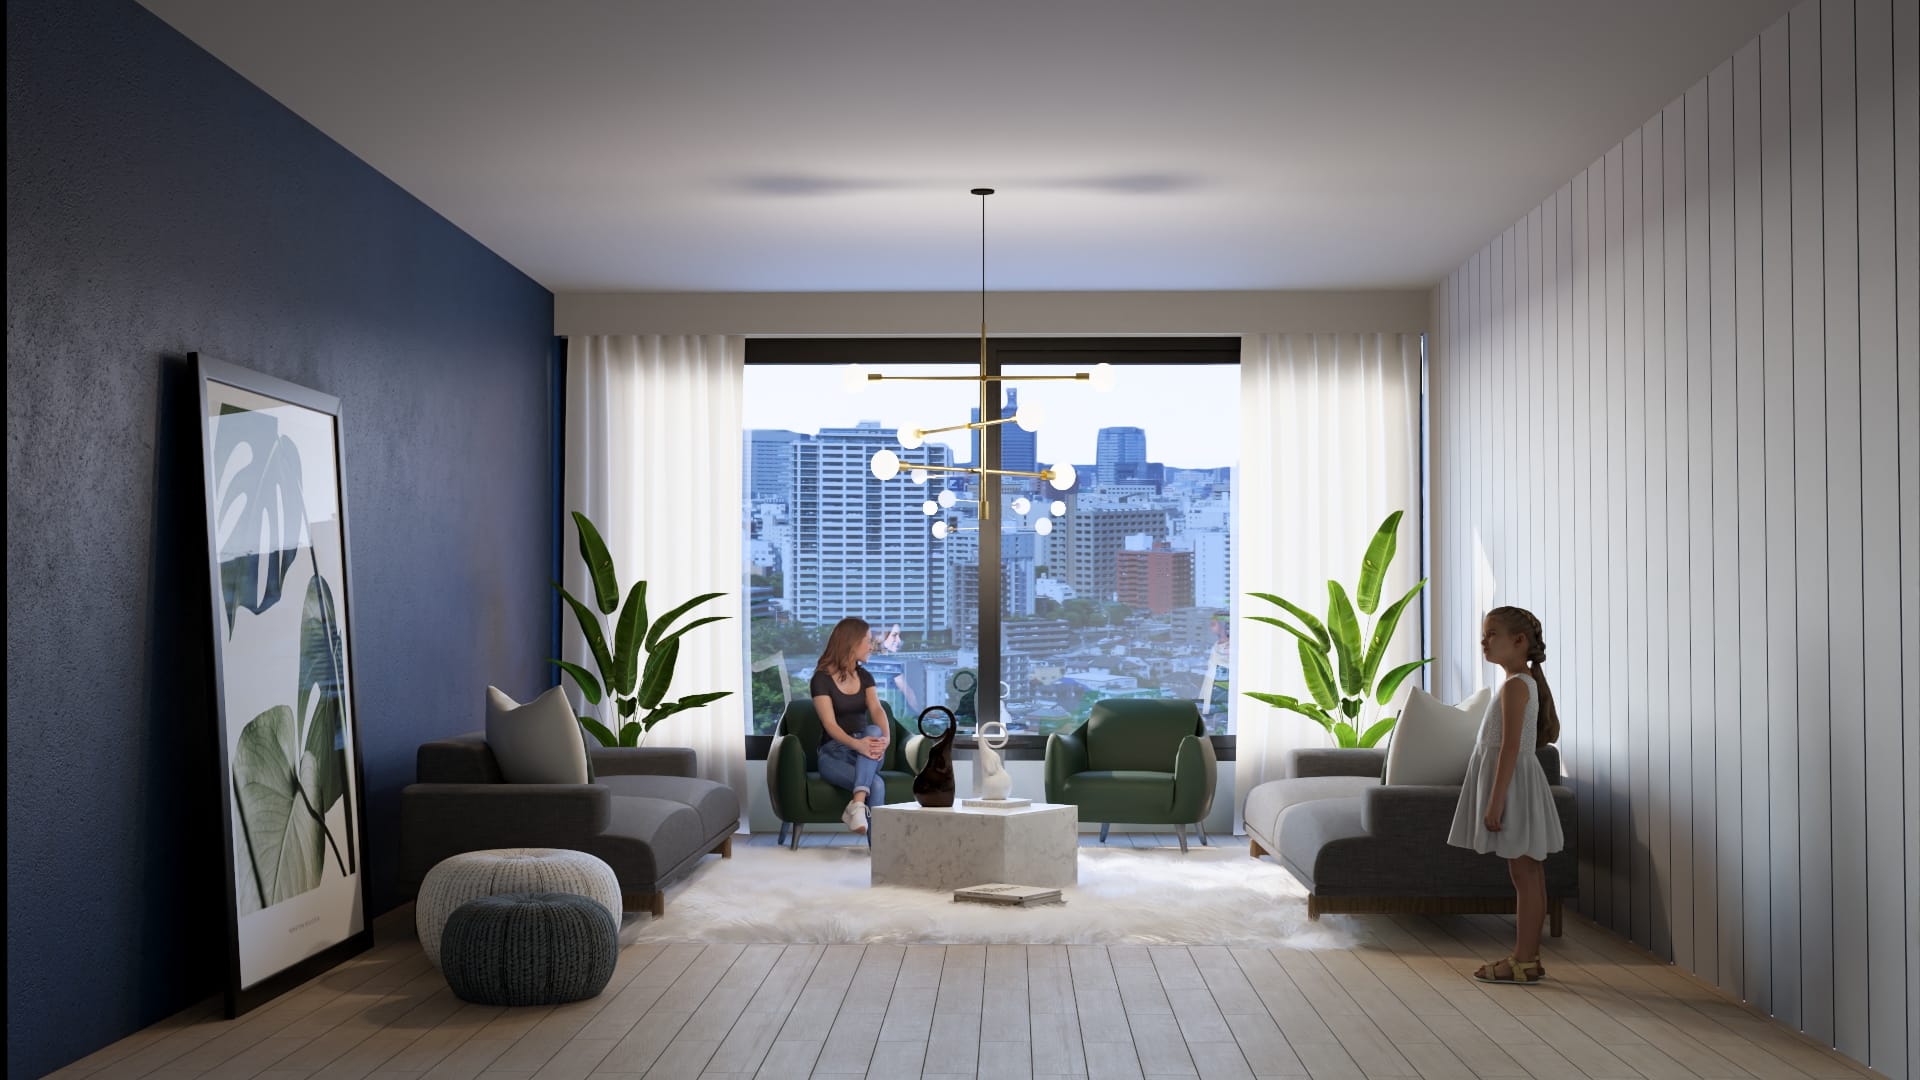
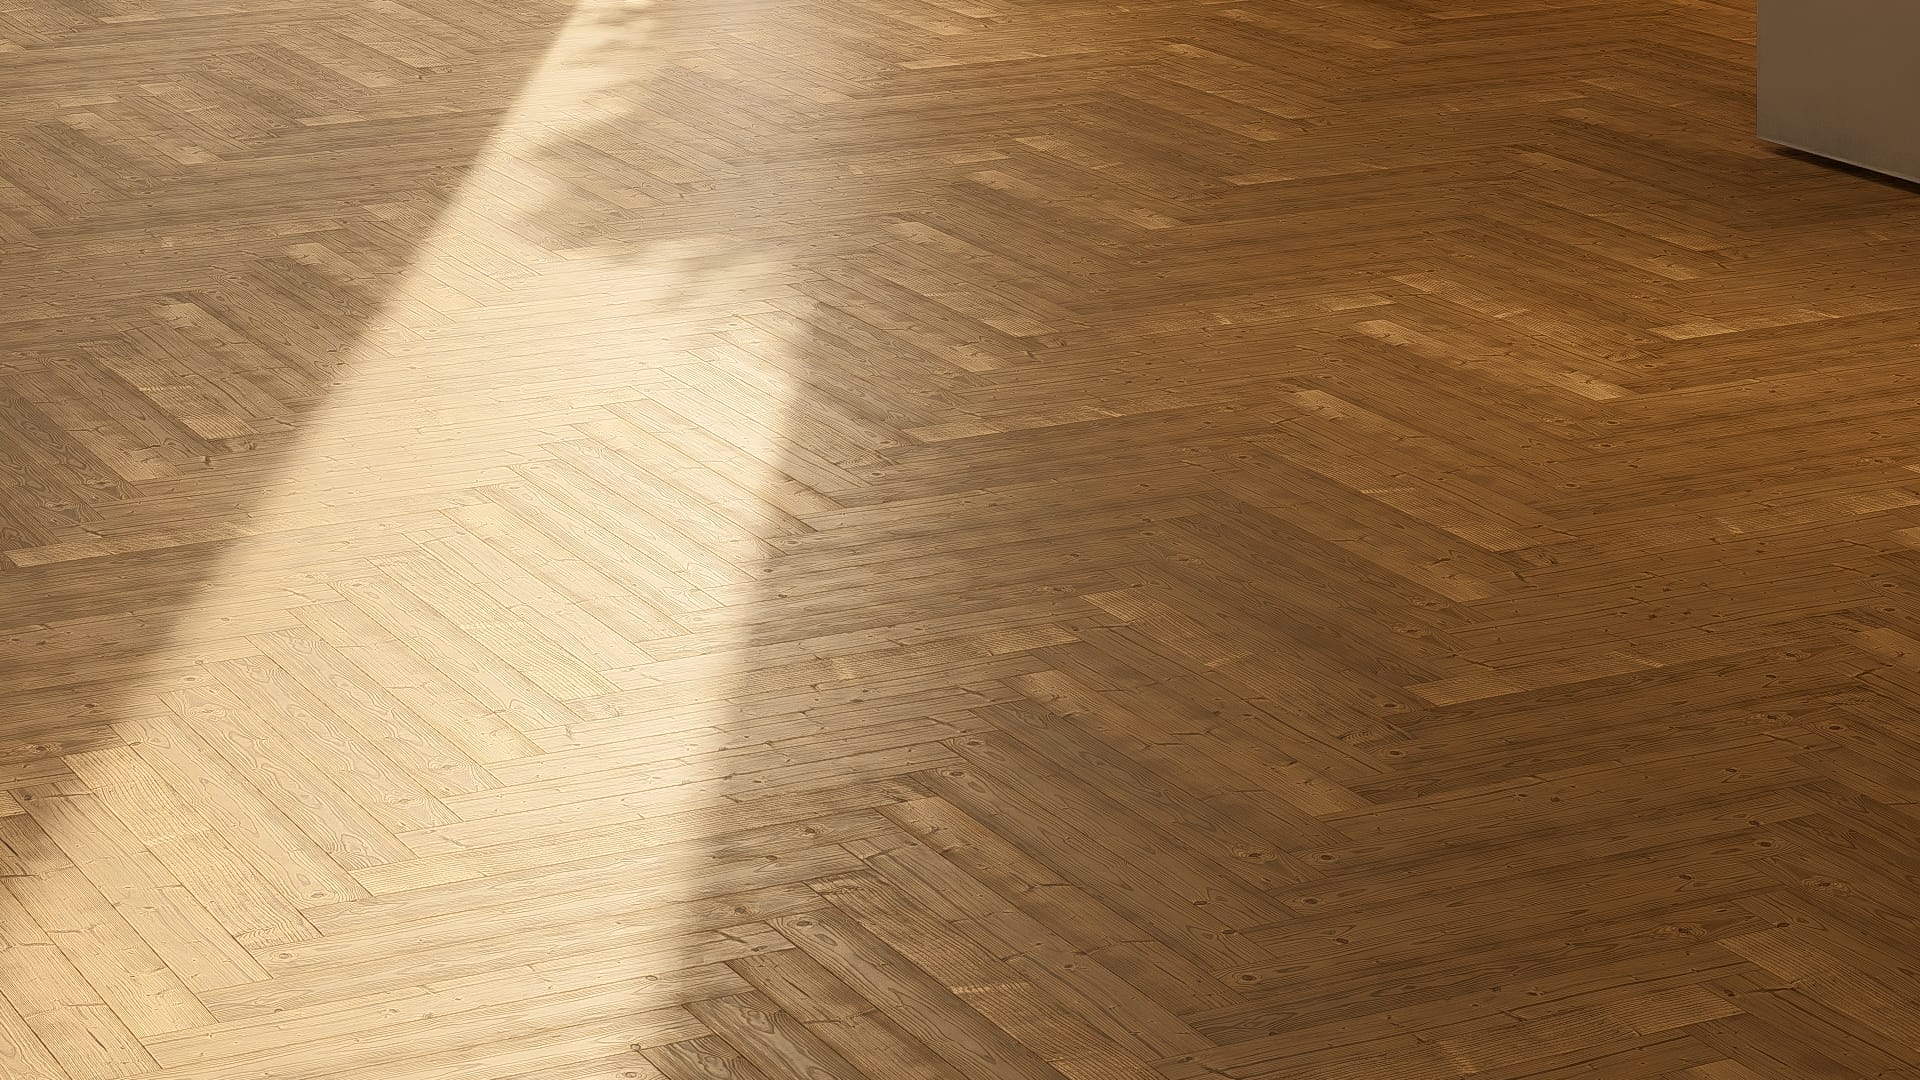
Always compare with real-world references. Zoom in, tweak the scale, soften or sharpen reflections. It’s often the small changes that take a material from “meh” to “wow.”
Step 4: Use a Ready-Made Library When You Need Speed
Let’s face it—sometimes, you just don’t have time to build every material from scratch.
That’s where professional PBR texture libraries come in. A good one saves you hours, gives you reliable quality, and lets you focus on design and lighting instead of technical details.
🟢 For example, the Lumion Material Full Pack on Easyviz3D includes over 1000 ready-to-use materials, perfectly optimized for Lumion 11 to 2024.
You get wood, concrete, marble, fabric, tile, metal—you name it.
Each material comes with all the essential maps and is drag-and-drop ready.
👉 Ideal for anyone who wants fast results without sacrificing realism.
Final Thoughts: Realism Is a Choice
Every designer wants better renders. But the real pros know that realism doesn’t come from better software—it comes from better decisions.
Choosing the right materials, using the right texture maps, and adjusting them with intention—that’s what takes your Lumion scenes to the next level.
So next time you start a project, don’t just think about the model or lighting.
Ask yourself: what story is your surface telling?
✅ Quick Recap:
-
Use PBR materials with Normal, Roughness, and Displacement maps
-
Adjust each texture to reflect real-world scale and behavior
-
Leverage ready-made material packs when you’re on a deadline
-
Don’t underestimate the impact of great materials on client perception
Need a shortcut to professional-quality materials?
Explore the Lumion Material Full Pack by Easyviz3D—and bring your scenes to life faster.